Affiliate note: This article contains affiliate links. As an Amazon Associate I earn from qualifying purchases. If I recommend a product here, it’s because I’ve actually bought it and used it myself.
Ahh, what a delight! As usual, I am a little late to the party, but the crochet hacky sack is back.
I am one of those people who loves to crochet and knit, but I go through phases where I’ll make a lot of pieces until I burn out and nothing excites me for a couple of months. So I move my crafting urges elsewhere.
After rummaging around Reddit and patterns online, I found a lot of crocheters were making amigurumi balls, stuffing nylon socks or balloons with pony beads or food things, and sealing them up.
The Feel Had to Be Right
I did try the balloon thing first because I spend a lot of money on craft things and was trying not to impulse buy a bulk pack of nylon socks on Amazon. I didn’t like how this came out because I felt it worked better as a stress ball and was a little too tight for a hacky sack. I’m a 90s kid, so I feel like I have a pretty good idea of what the hacky sack should feel like.
Really, I knew there was a way I could make it so the beads flew around loosely inside the sack because containing them inside something else was never going to feel right to me. Plus, back in the old days, people would sometimes pluck a few beads out to make the sack lighter if they so desired.
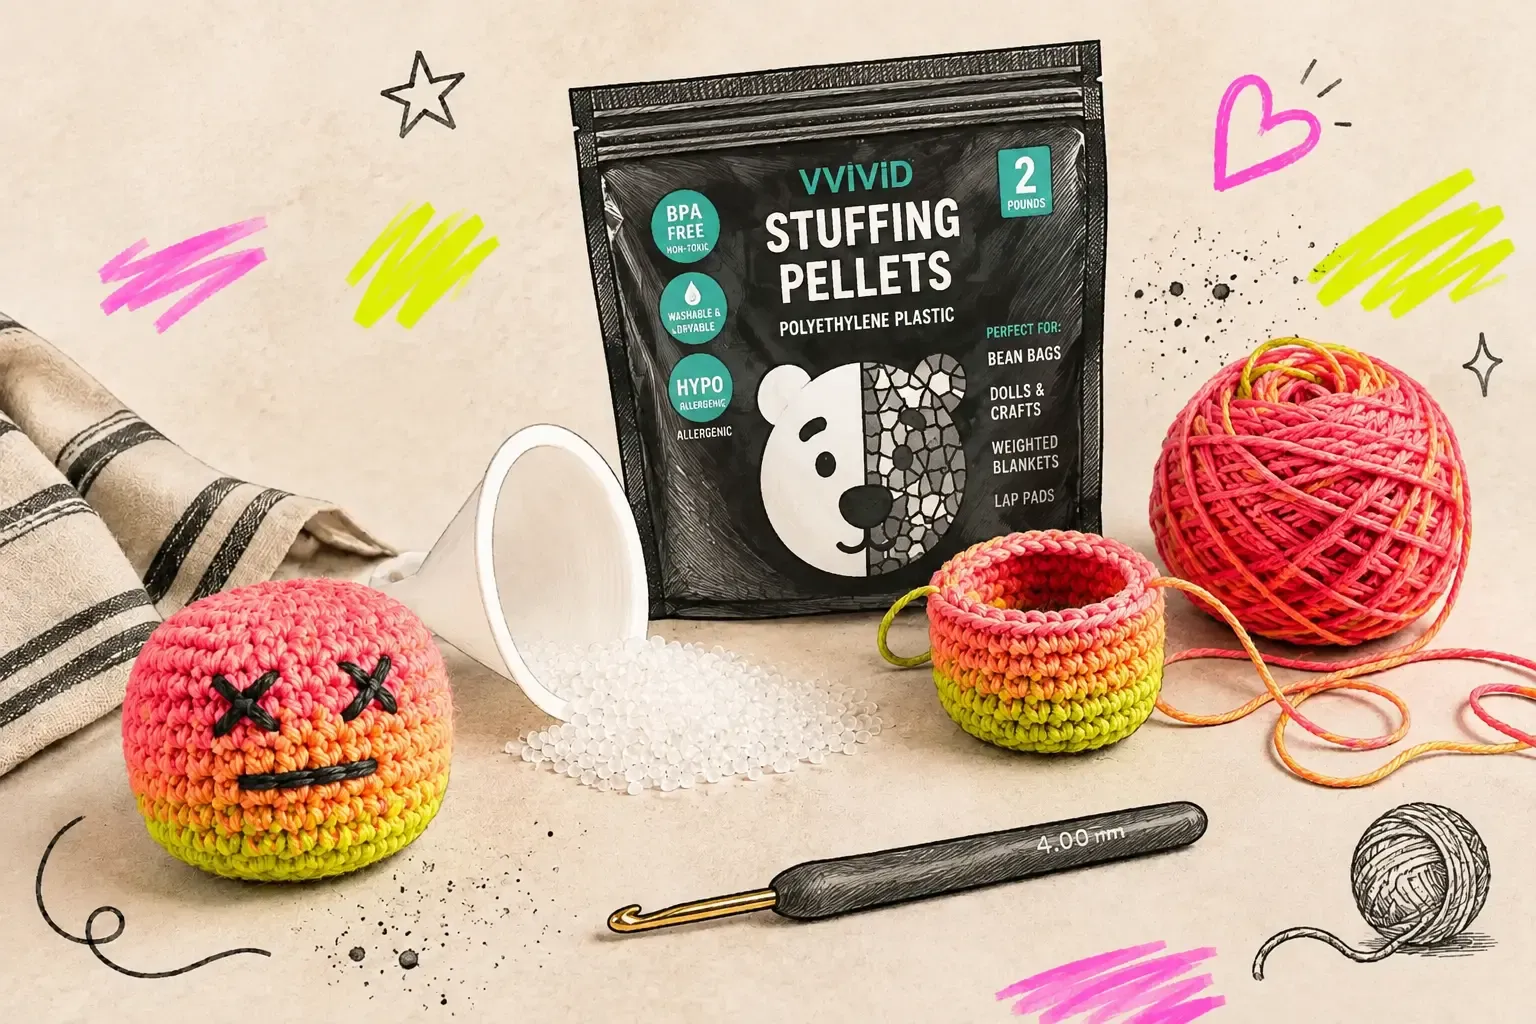
What I did impulse buy were these poly beads:
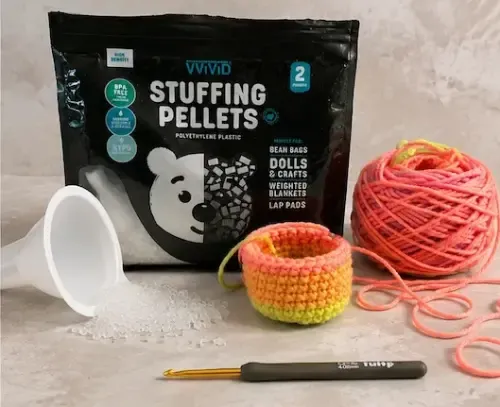
See the poly beads I bought on Amazon →
Washable Was Non-Negotiable
Food was never a filling option for me because the idea of the sacks getting wet and moldy or attracting animals isn’t ideal where I come from.
I live in bear country on a popular dog walking path with many species of birds, along with squirrels, RATS, mice, rodents - you name it. We don’t leave food lying around outside.
The hacky sacks need to be washable and dry quickly. Originally, I used 100% cotton yarn to make a few testers and later decided to go with acrylic. Acrylic dries much faster when wet, and I have acrylic yarn in some beautiful gradient colours that make quick work of a colourful hacky sack. Also, I have a mountain of #4 worsted acrylic.
There are pros and cons to both cotton and acrylic, so do whatever makes you happy. One of the cons of acrylic might be that the stitches can loosen a little with wear and tear, but the hacky sacks I’ve made have pretty tight stitches.
The Hooks I Actually Use
As far as crochet hooks go, I bought cheap ones when I was starting out because I didn’t know if I would stick with it. I was a hardcore knitter at the time and didn’t know how far I would stray, but I wanted to be able to do both depending on what I wanted to achieve. Tulip hooks are my regular hooks now.
Cheap crochet hook set:
See the cheap crochet hooks I bought on Amazon →
NOT cheap crochet hook set but worth every penny:
See the not cheap crochet hooks I bought on Amazon →
The Crochet Hacky Sack Pattern
Note: I use the yarn-under technique for my single crochet stitches to create a dense fabric with stitches that look more like an “X” instead of a “Y.” On decrease stitches (sc2tog), work through the front loops only to help prevent holes from forming. We don’t want the beads working their way out!
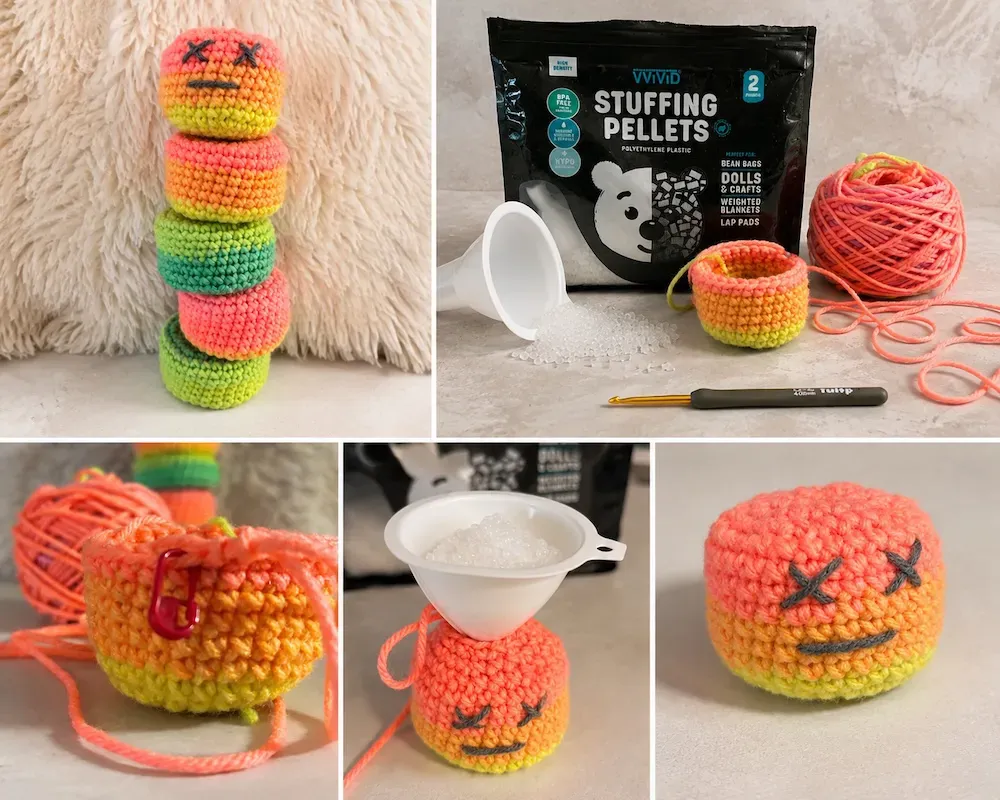
Supplies
Skill level: Easy
Finished size: Approximately 2” (5 cm) tall × 2.5” (6.4 cm) across
- #4 worsted weight yarn (I use Red Heart Super Saver Retro Stripe)
- G-6 (4 mm) crochet hook
- Stitch marker (optional, but recommended)
- Poly beads
- Small funnel for adding the beads
- Bead scoop (this is the set I use)
- Scissors
- Yarn needle (these are the ones I like)
Abbreviations
sc - single crochet
sc2tog - single crochet two stitches together
st(s) - stitch(es)
This pattern is worked continuously in the round. Do not join at the end of each round. Use a stitch marker to mark the first stitch of each round and move it up as you work.
Round 1
Make a magic ring and work 6 sc into the ring. (6 sts)
Round 2
2 sc in each st around. (12 sts)
Round 3
(2 sc in next st, sc in next st) repeat around. (18 sts)
Round 4
(2 sc in next st, sc in next 2 sts) repeat around. (24 sts)
Round 5
(2 sc in next st, sc in next 3 sts) repeat around. (30 sts)
Rounds 6–13
Sc in each st around. (30 sts)
Round 14
(sc2tog, sc in next 3 sts) repeat around. (24 sts)
Round 15
(sc2tog, sc in next 2 sts) repeat around. (18 sts)
Round 16
(sc2tog, sc in next st) repeat around. (12 sts)
Fill the Hacky Sack
Use a small funnel to pour the poly beads directly into the crocheted sack.
I use the largest scoop from this bead scoop set and add about 5–6 scoops of poly beads. I aim for a finished hacky sack that weighs somewhere between 50 and 60 grams.
Don’t pack it completely full. The beads should still have enough room to move freely inside — that’s what gives the hacky sack that loose, floppy feel instead of turning it into a hard little ball.
You can add or remove beads until it feels right to you. The weight is a useful guideline, but I prefer mine loose enough that the sack flattens and changes shape easily when you hold it.
Finishing
Cut the yarn, leaving a long enough tail for closing.
Thread the tail onto a yarn needle. Pass the needle through the front loop of each remaining stitch around the opening.
Once you’ve gone through all 12 stitches, gently pull the yarn tight to cinch the opening closed.
Secure the yarn with a knot, then weave the end through the hacky sack several times. Push the needle through the sack and bring it out somewhere away from the closing point. Pull the yarn slightly taut and trim the excess so the tail disappears back inside.
And there you have it: a washable, bead-filled crochet hacky sack worthy of the 90s.